

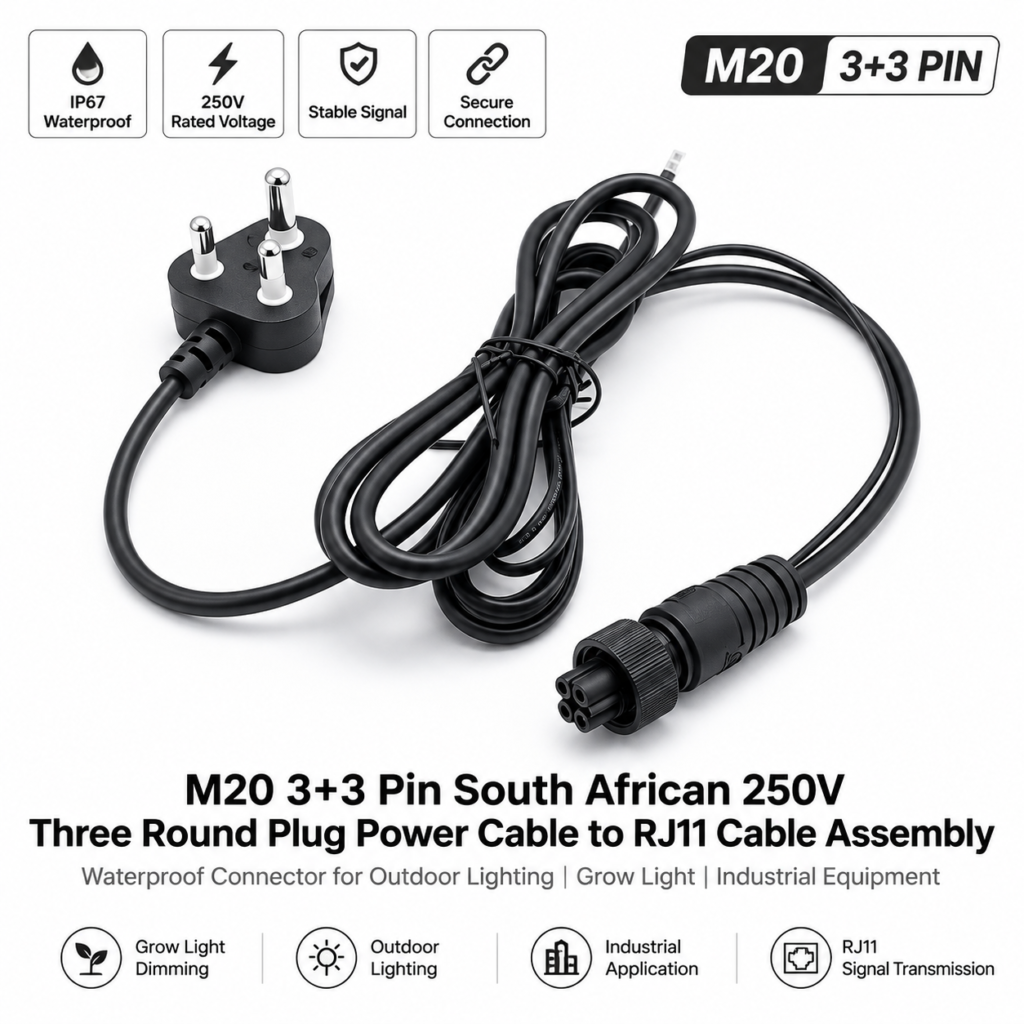
A custom waterproof cable assembly is not defined by a cable length alone. It is the connection path between two equipment interfaces, considered together with the way the cable will be installed, handled and reviewed in the actual project. When a request begins with a clear project brief, the discussion can focus on the information that still needs confirmation instead of assumptions made from a product image or a familiar connector shape.
For equipment OEMs and purchasing teams, the most useful first step is to describe what the cable assembly must connect and where it will run. This does not require a finished drawing for every detail. It does require enough information to make the two endpoints, routing conditions and project variations understandable.
CONNIXTECH’s 2025 catalogue includes waterproof connector and industrial cable assembly product paths. These catalogue families can be used as a starting point for project discussion. They do not, by themselves, define a complete custom cable assembly, a specific contact assignment, an environmental rating or a matching relationship for an installed system.
Start with the two interfaces
Begin by identifying the cable-side and equipment-side interfaces. Explain what is located at each end of the planned cable assembly and where the cable needs to connect. A panel location, a lighting fixture, an enclosure, a distribution point or another equipment module may all create different physical requirements.
If drawings, photographs or an existing interface reference are available, include them in the project brief. They can help clarify orientation, access and the space available around the connection point. This is more reliable than specifying only “male,” “female” or a connector size without defining the complete mating arrangement.
The two ends should be reviewed as a pair. A cable-side component and an equipment-side component may need to align with the intended mating direction, service access and installed cable approach. Similar-looking components should not be assumed to create a final working interface without project review.
Describe the installed cable route
The cable route is part of the assembly definition. State where the cable begins and ends, how it reaches each interface and whether it runs along a structure, through an enclosure or between separate equipment zones. Include the required cable length for each route, along with any known clearance, routing direction or access limitations.
This information is especially important when a project includes more than one route. A cable assembly used in a fixed position may have a different path from one that must be reached during equipment build or service. Naming the routes separately helps the discussion stay tied to real installation conditions instead of a single generic cable description.
Keep circuit information and physical data together—but distinct
An effective custom waterproof cable assembly brief includes a circuit list or wiring document when one is available. For each project circuit, describe the required function and relevant electrical requirement. Do not assign a generic function to a contact simply because a connector has a particular visual layout.
Physical cable information should be recorded alongside the circuit documentation, but as its own part of the brief. Cable outer diameter, required length, branching locations, route direction and termination discussion points can all affect the project review. Keeping the electrical and physical inputs distinct makes it easier to identify what is known and what still requires clarification.
Organize variations before asking for a quotation
Many projects use more than one cable assembly variation. The equipment may have different installation locations, cable lengths, branch requirements or interface conditions. Rather than combining these into one broad request, list each variation separately with a clear reference name.
For each variation, add an estimated quantity, whether a sample or pilot build is required, the target timing and any open questions. This gives engineering and purchasing teams a shared view of the project scope. It also makes it easier to discuss whether a catalogue family is relevant before a detailed configuration is finalized.
Build a quote-ready project brief
Before sending an inquiry, gather the following information:
- Equipment type and the location of both connection points.
- Cable-side and equipment-side interface references, drawings or photos.
- Required cable route, length, cable approach direction and available clearance.
- Circuit-function information and relevant electrical requirements for the actual project.
- Cable outer diameter, branching needs and termination discussion points.
- Installation, assembly or service-access requirements.
- A list of distinct assembly variations, estimated quantities and target timing.
This checklist is not a final specification. It is a practical way to prepare the inputs needed for a more focused technical review. If some details are still open, state what is known rather than filling gaps with a general assumption.
For an application-specific example, read our plant grow-light cable harness RFQ guide. You can also browse the CONNIXTECH Product Centre to review catalogue-listed product families.
When your project information is ready, send a Global Inquiry with the interface references, cable routes, variation list and expected timing. A clear brief gives the project review a practical place to begin.
Share your two interfaces, cable route and project variations with CONNIXTECH for a custom waterproof cable assembly review.